How to Install a Claude Skill (Step-by-Step for Claude.ai and Claude Code)
Installing a Claude skill takes under two minutes. You copy the skill instructions, open your Claude Project or Claude Code rules file, paste them in, and save. This guide walks through both paths with exact steps.
Installing a Claude skill is a two-minute task. You copy the skill instructions, open Claude.ai or Claude Code, paste, and save. This guide shows the exact steps for both paths.
What You'll Need
Before you start:
- A Claude.ai account (Pro or above for Projects) or Claude Code installed
- A skill file — either downloaded from your CreatorSkills Library or copied from a free skill page
- Two minutes
If you haven't chosen a skill yet, browse skills by category or start with one of the free skills to get familiar with the format.
Path 1: Install in Claude.ai Projects
Claude Projects are the primary home for skills on Claude.ai. Every conversation you start inside a project inherits the skill instructions automatically.
Step 1 — Create or open a Project
Go to claude.ai and click Projects in the left sidebar. Either open an existing project or click Create Project and give it a name (e.g. "YouTube Workflow").
Step 2 — Open Project Knowledge
Inside your project, click the Project Knowledge section on the left panel. This is where all instructions for the project live.
Step 3 — Get your skill content
On the skill's product page on CreatorSkills, click Download → Copy to Clipboard (or download the SKILL.md file and open it in any text editor). You want the full text including the YAML frontmatter block at the top.
If you purchased the skill, it's always available in your Library.
Step 4 — Paste the instructions
Click Add content in the Project Knowledge section, then paste the full skill text. You can add multiple skills in the same knowledge section — just separate them with a blank line.
Step 5 — Save and test
Click Save. Start a new conversation inside the project and give it a task related to the skill. The AI will follow the skill instructions from the first message.
Tip: Start with a specific request rather than "hello." If you installed the YouTube Title Generator skill, open with: "Write 5 title options for a video about [your topic]."
Path 2: Install in Claude Code
Claude Code uses .mdc rules files to store persistent instructions. Skills in Claude Code apply to all AI interactions within your project directory.
Step 1 — Download the .mdc version
On the skill product page, click Download → .mdc format. This gives you a file formatted specifically for Claude Code's rules system.
Step 2 — Place the file in your rules directory
Move the downloaded .mdc file into your project's .claude/rules/ directory (create it if it doesn't exist). The file name doesn't matter — Claude Code reads all .mdc files in that directory.
Alternatively, open your existing .claude/rules/default.mdc and paste the skill content at the end of the file.
Step 3 — Verify it loaded
In your terminal, run claude to start a Claude Code session. The skill instructions are active immediately. You can confirm by asking Claude Code to describe its instructions.
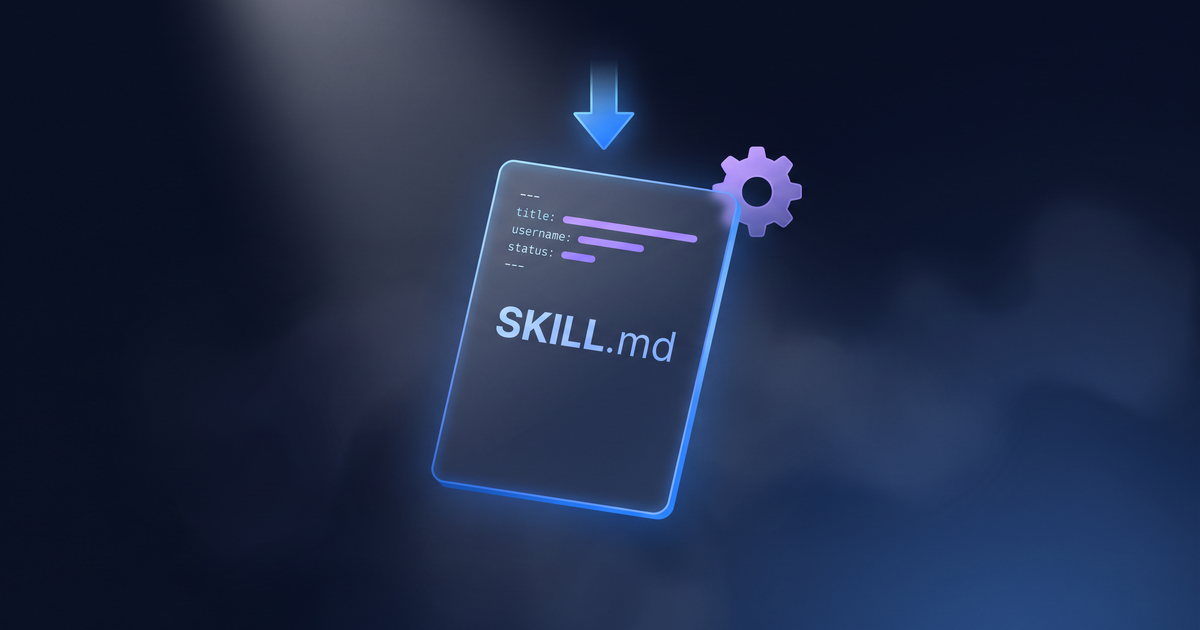
The SKILL.md Format: What You're Actually Installing
Every skill on CreatorSkills ships as a SKILL.md file. It looks like this:
---
name: YouTube Title Generator
description: Generate scroll-stopping YouTube titles
version: "1.0"
platforms: [claude, chatgpt, claude-code, cursor]
---

[Skill instructions in Markdown...]
The YAML frontmatter (between the --- lines) is metadata. The body below is the actual instruction set. When you paste into Claude.ai Projects, Claude reads both — but what shapes its behavior is the instruction body.
The SKILL.md format is an open standard, which means skills built for CreatorSkills also work in ChatGPT Custom Instructions, Cursor rules, and other platforms that accept plain-text instructions. Learn more on the for developers page.
Installing Multiple Skills
You can run several skills in one Claude Project without conflict. Paste each skill's content into the Project Knowledge section, separated by blank lines. Claude treats them as independent instruction sets.
Good combinations for creators:
- A title generation skill + a script outline skill in a "YouTube" project
- A content repurposing skill + an email newsletter skill in a "Distribution" project
- Multiple niche-specific skills in a dedicated project for each content format
If two skills give conflicting instructions for the same task, be explicit in your prompt about which behavior you want.
After Install: Getting the Most from a Skill
Once a skill is installed, three habits make it significantly more effective:
-
Be specific about context. Instead of "write a title," say "write 5 title options for a 12-minute video teaching beginners how to use AI for productivity. My channel is casual and direct, not corporate."
-
Iterate within the same conversation. Skills perform best across a back-and-forth exchange. Don't expect one-shot perfection — refine within the session.
-
Match the project to the skill's scope. A content research skill and a brand deal outreach skill serve very different workflows. Separate projects keep context clean and responses focused.
For full documentation on all install paths — including ChatGPT and Cursor — see the installation guide.
Next Steps
- Browse all skills — filter by platform, category, or price
- Free skills — test the format before purchasing
- Claude platform guide — what to install and in what order
- Complete guide to Claude Skills — deeper dive into what skills are and why creators use them
About the author
Founder, CreatorSkills
Caleb Leigh is the founder of CreatorSkills and builds AI workflow tools for content creators.
Read the founder profile